Transcript
We are creating an opening video transition that lets us start the vlog from a piece of drawing and then transition to videos.
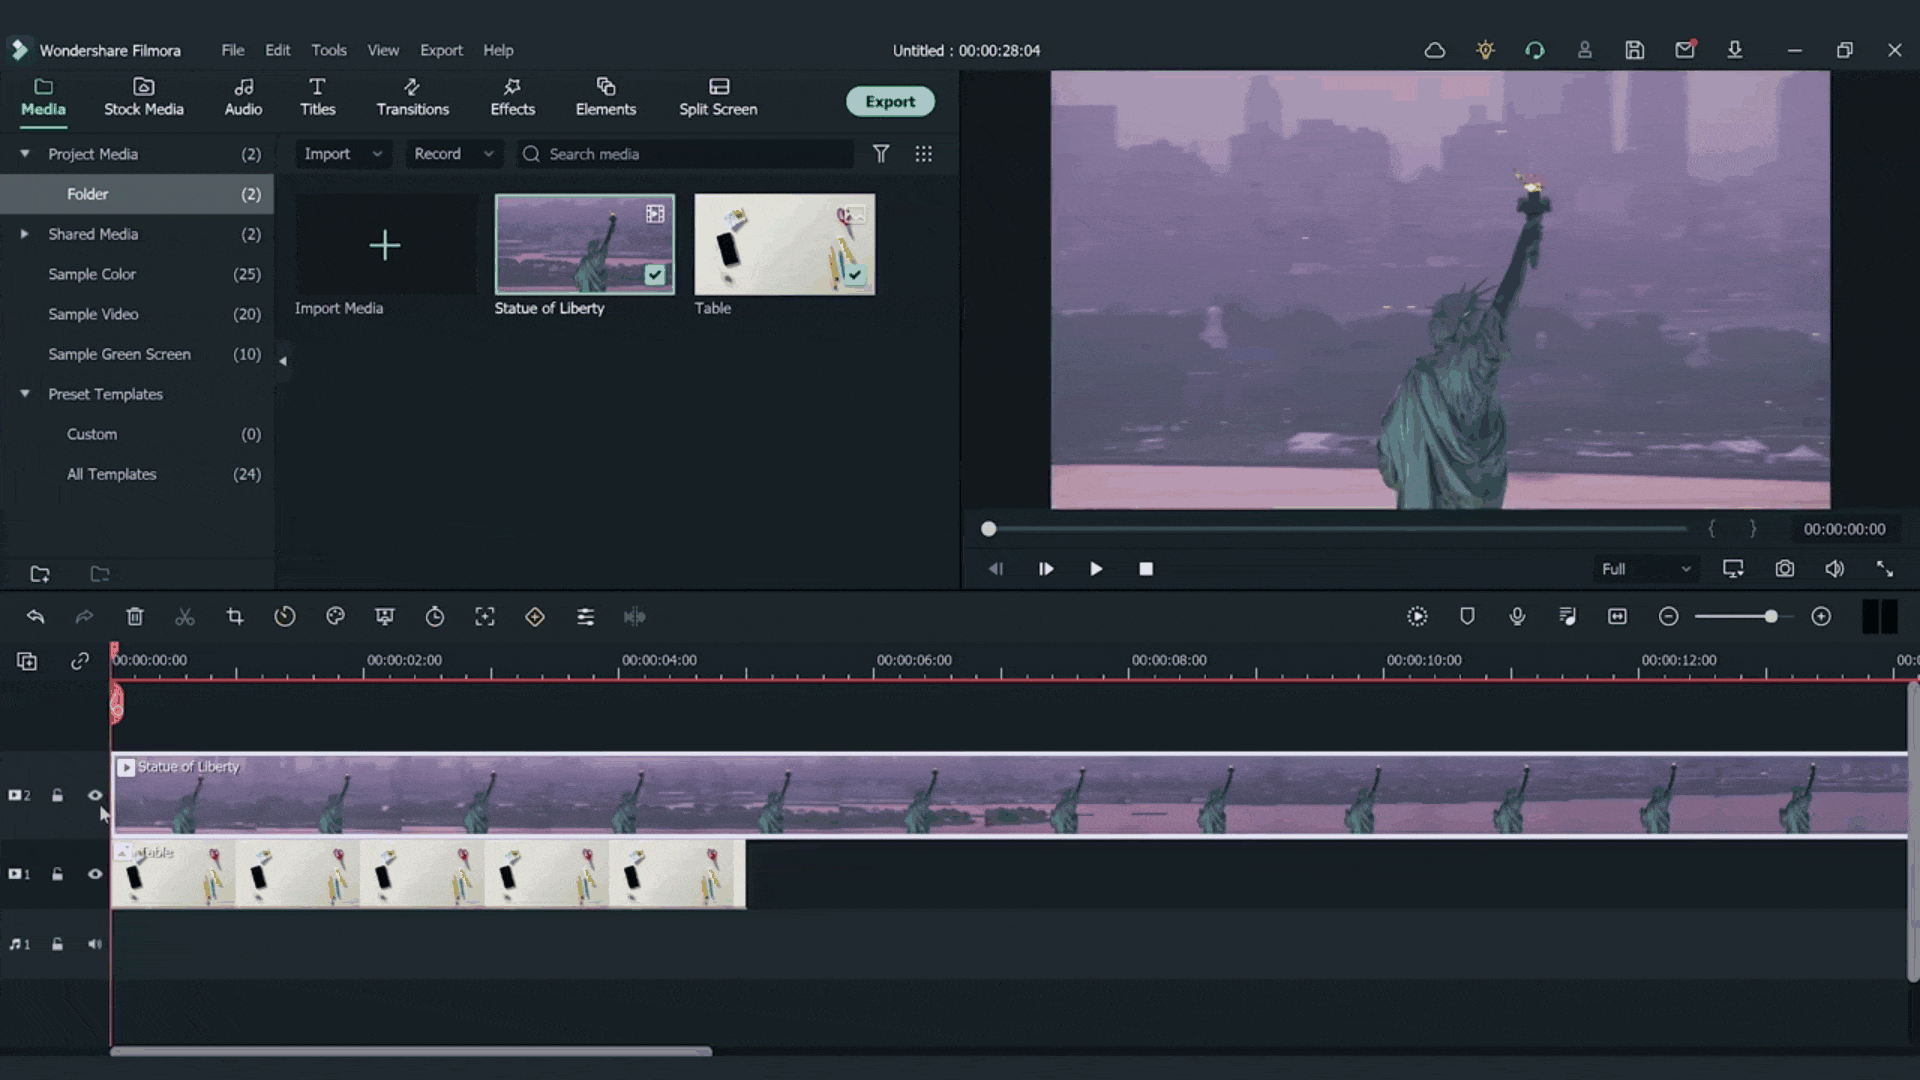
Get the clips we need. The first one is a top-down photo of an empty table. Make sure the table has some clear space in the middle so that there is a vacant space for the video.
Choose the ideal video clip that you are transitioning to. For this example, we use a stock video of the liberty statue.
Start by opening Filmora. If you have not downloaded Filmora, you can get it first.
Check the how to part below and follow the process to making the video transition effects.
How to Make Vlog Video Transitions
What you need to prepare:
- A computer (Windows or macOS)
- Your video materials.
- Filmora video editor
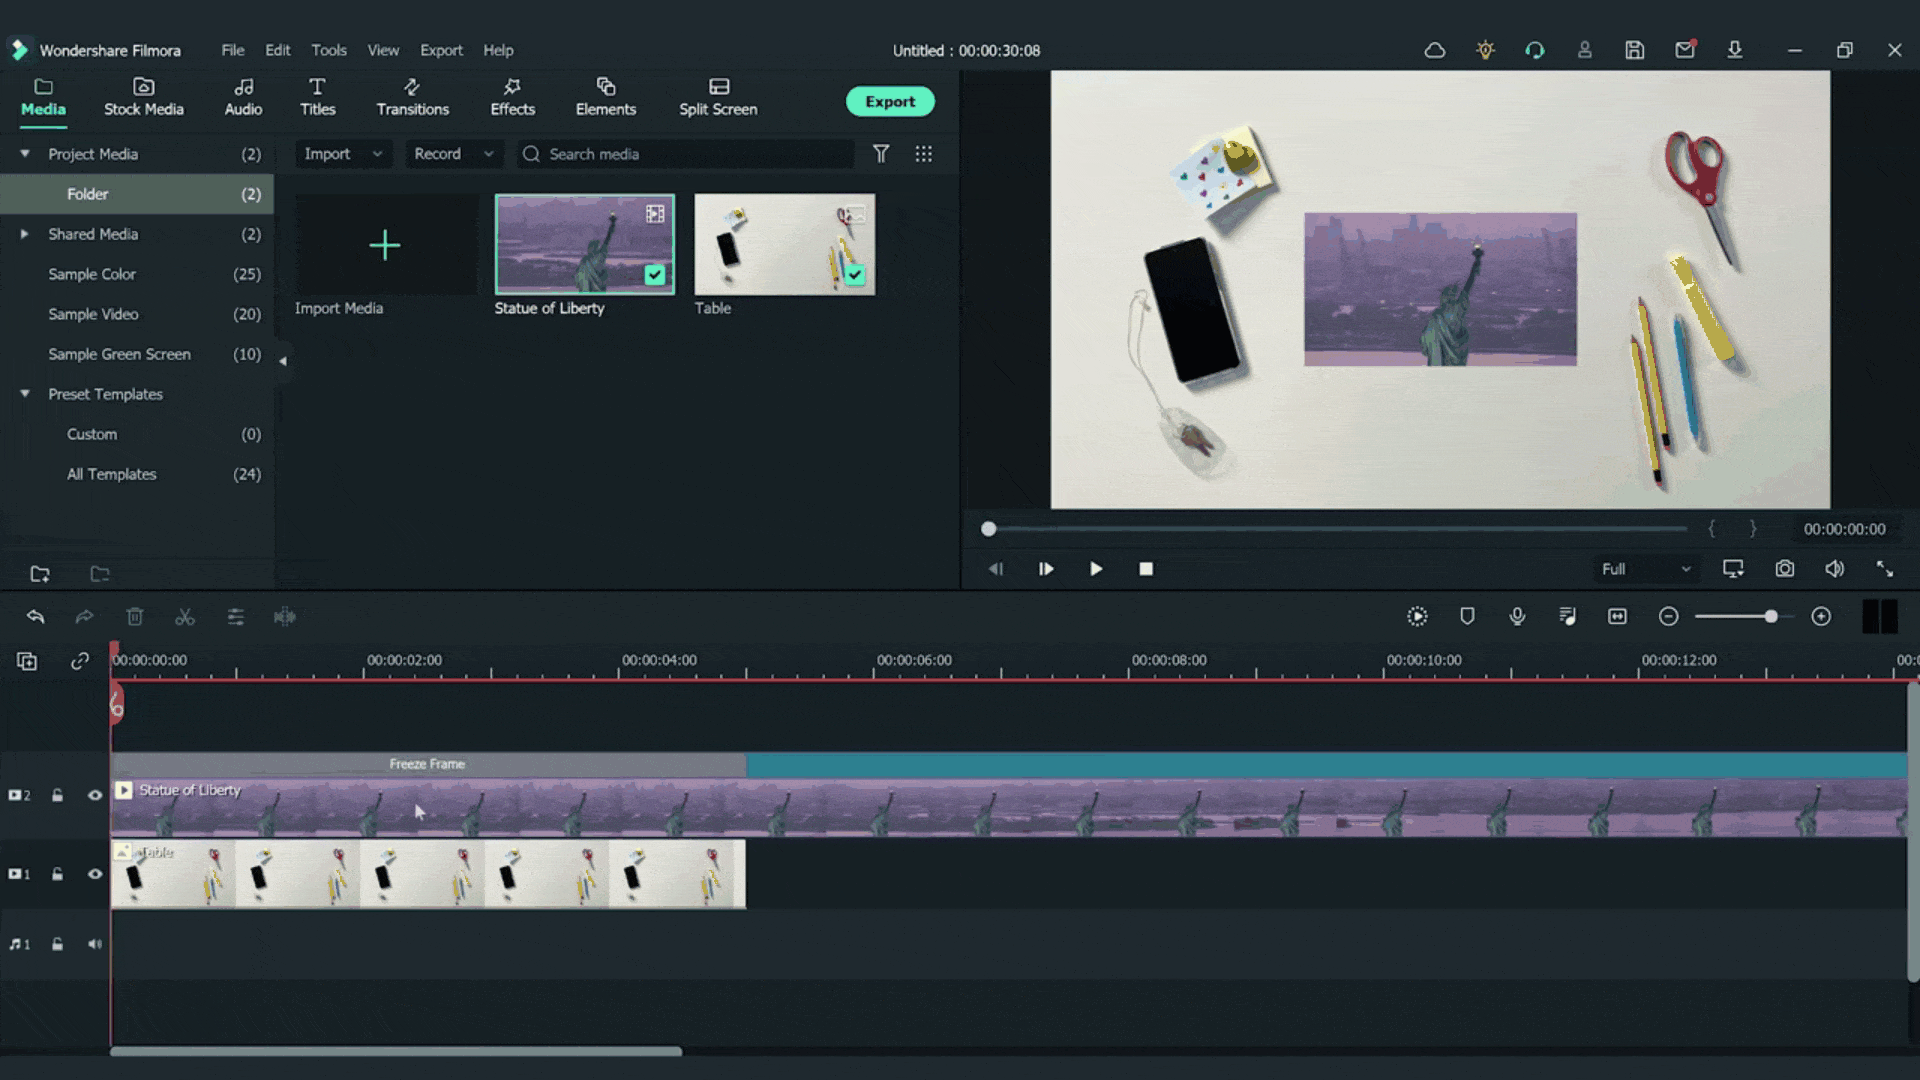
Drag and drop the top-down photo on the first video track of the timeline Then drag and drop the video clip of the liberty statue (or just the video you have) onto the second video track of the timeline.
Click on animation >> customize and change the scale to 35%
Find the spot where you want the transition to start at and click on it. At that point right click the your video track. On the pop up window click on speed then "add freeze frame."
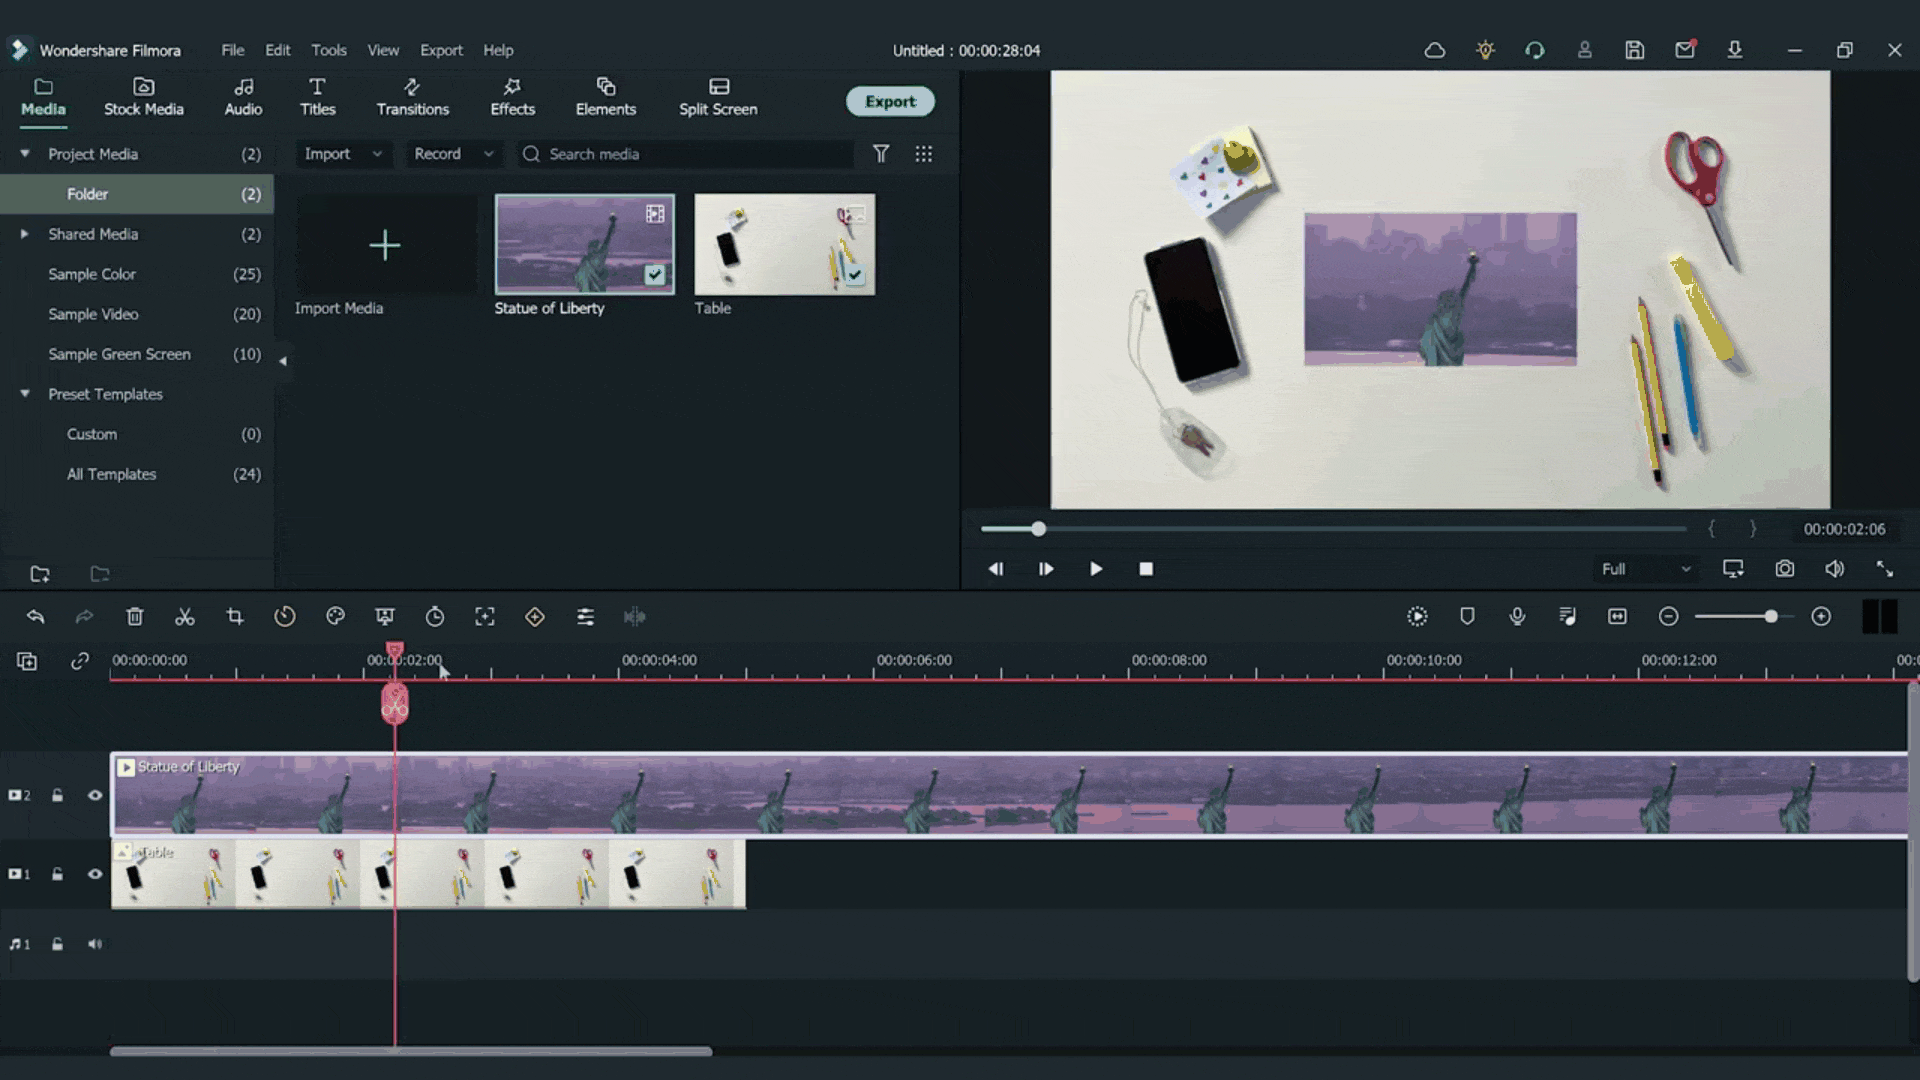
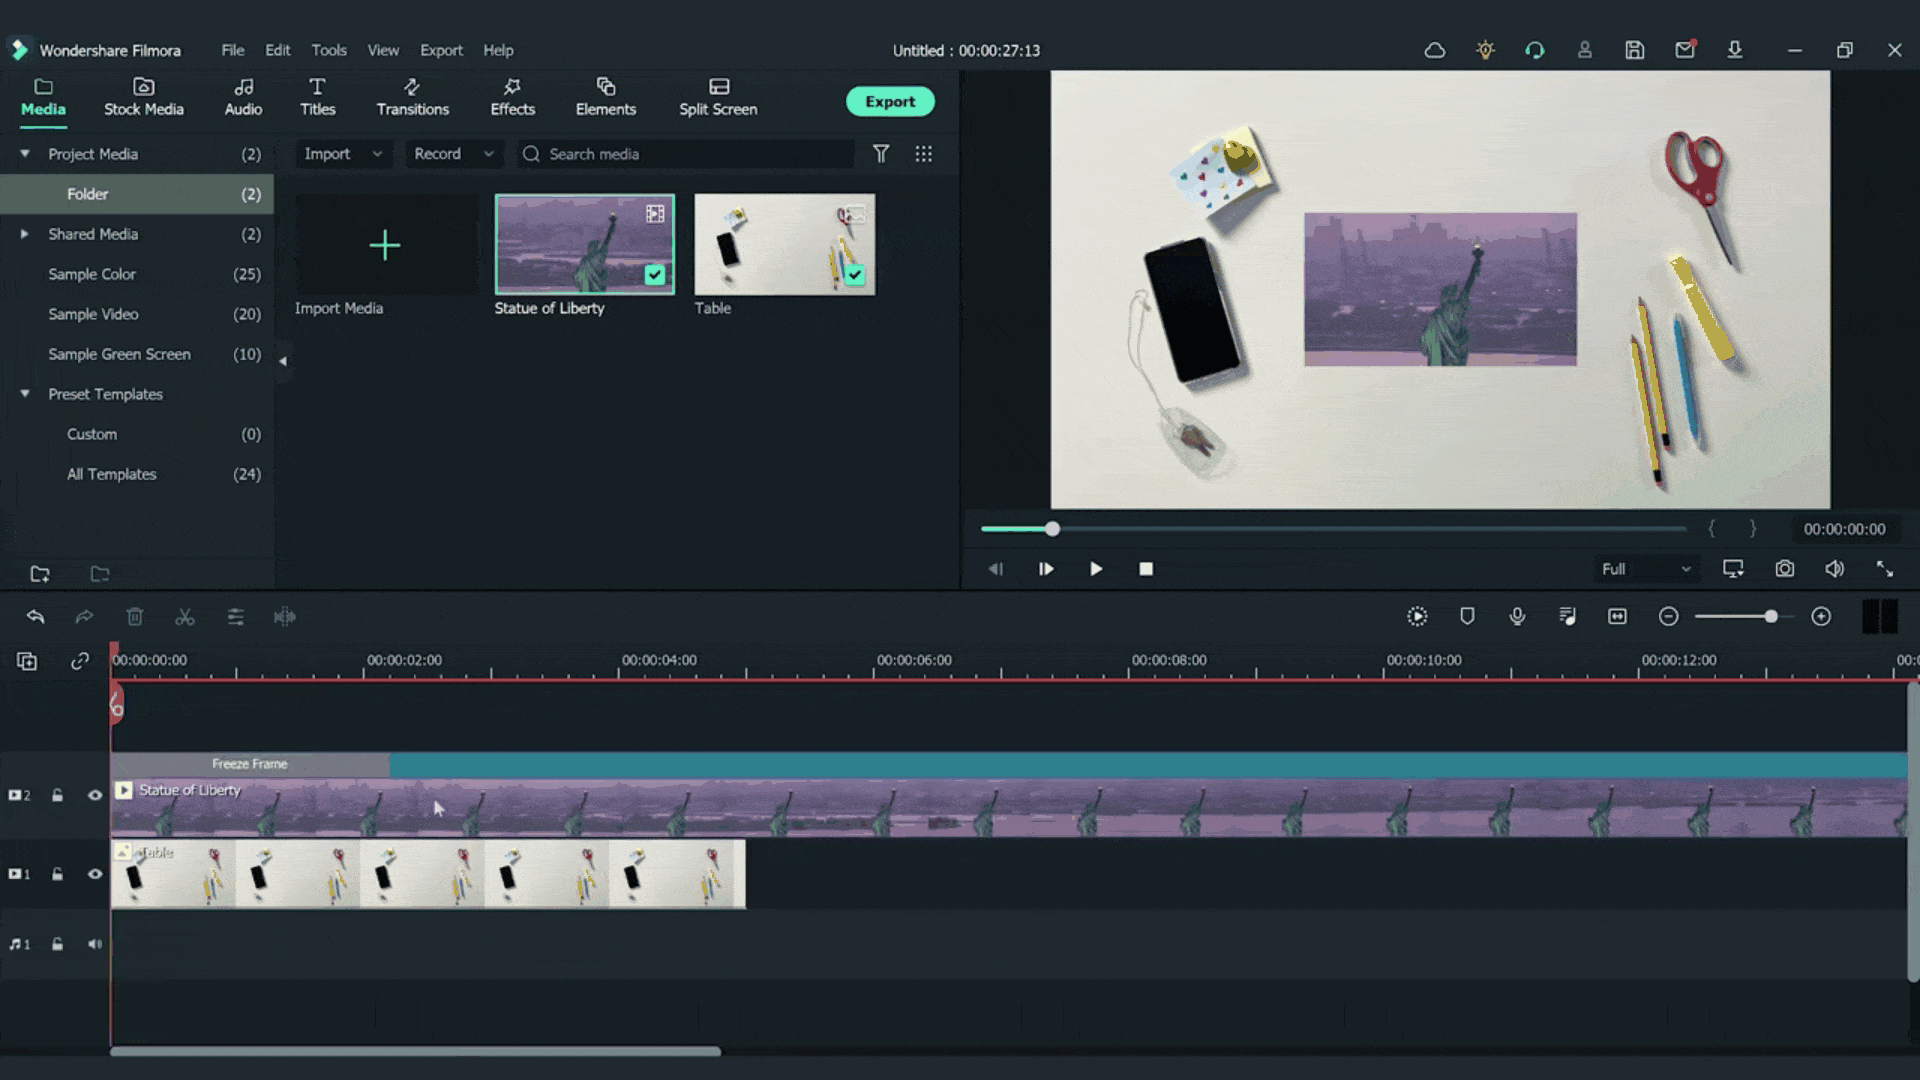
Split the tracks on the timeline where the freeze-frame starts and delete the parts on the left side.
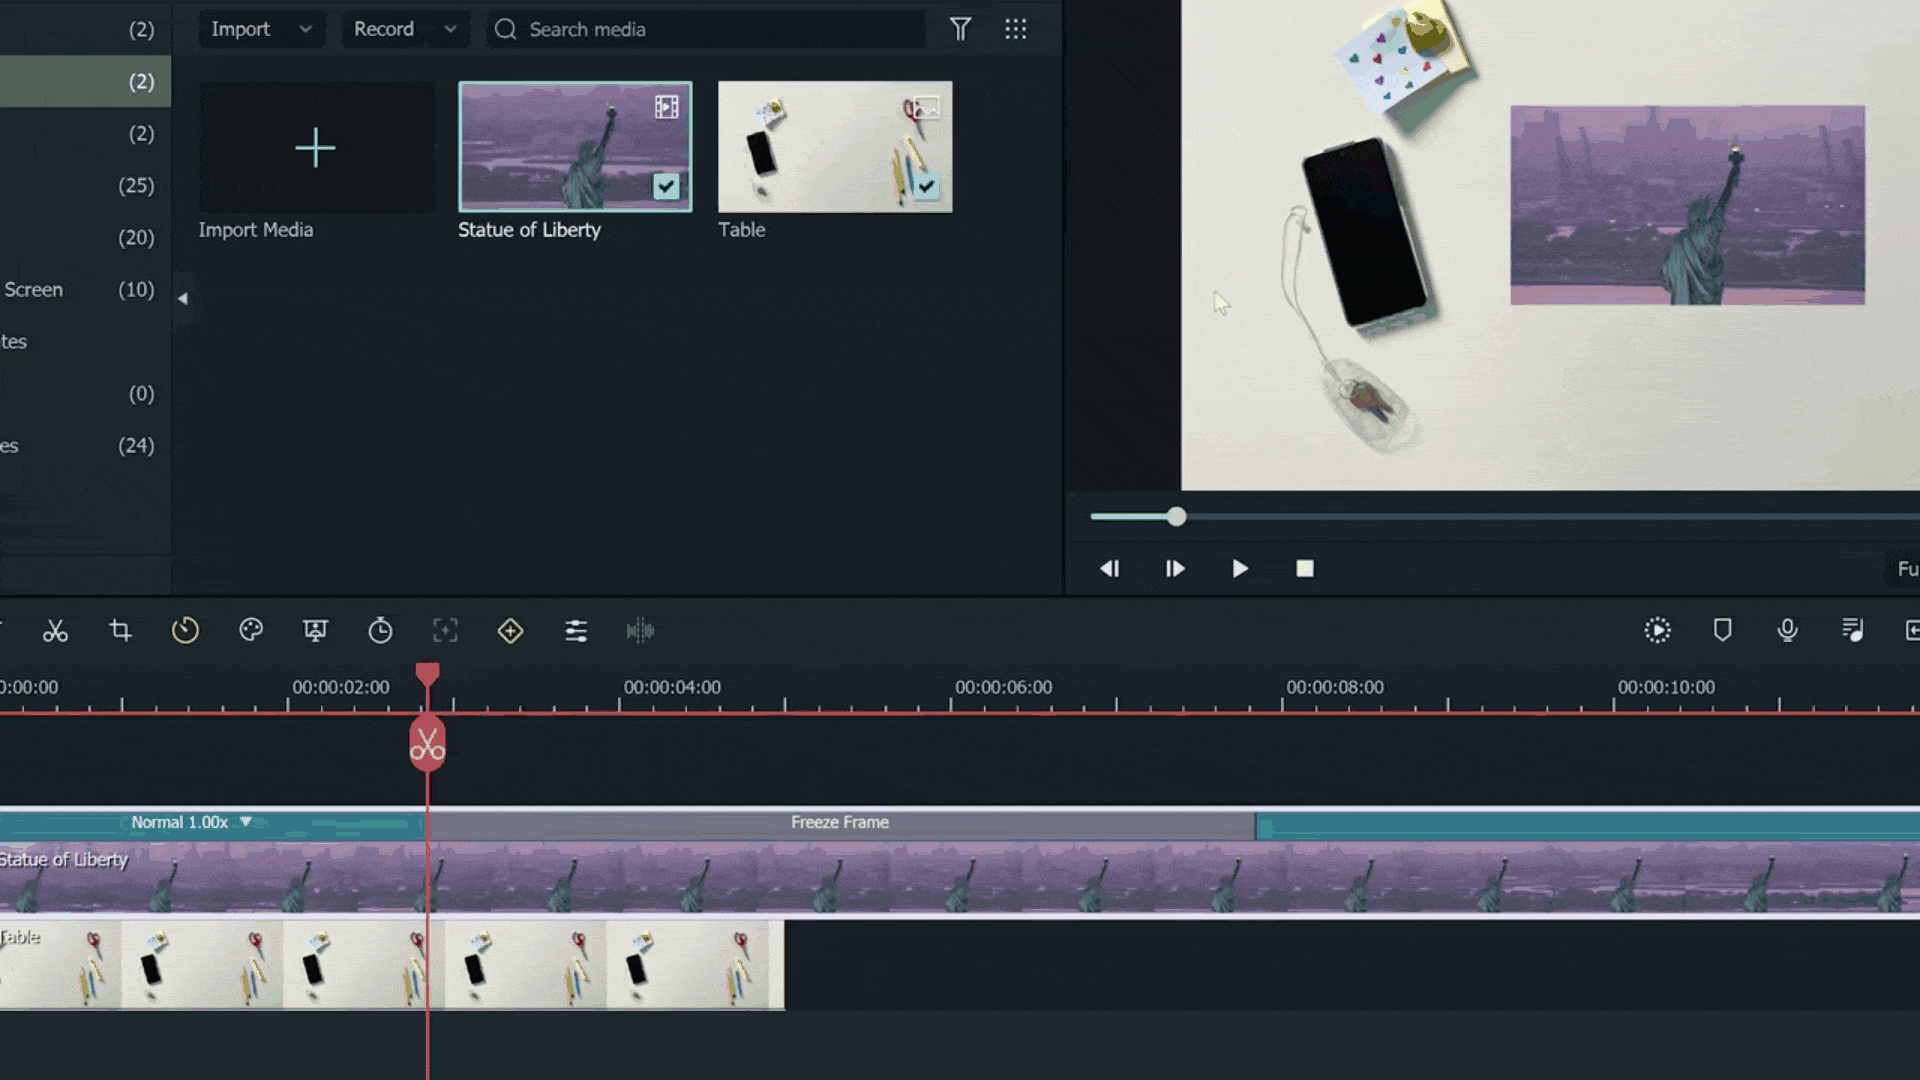
You can resize your freeze frame to a shorter length using the cut or resize tool.
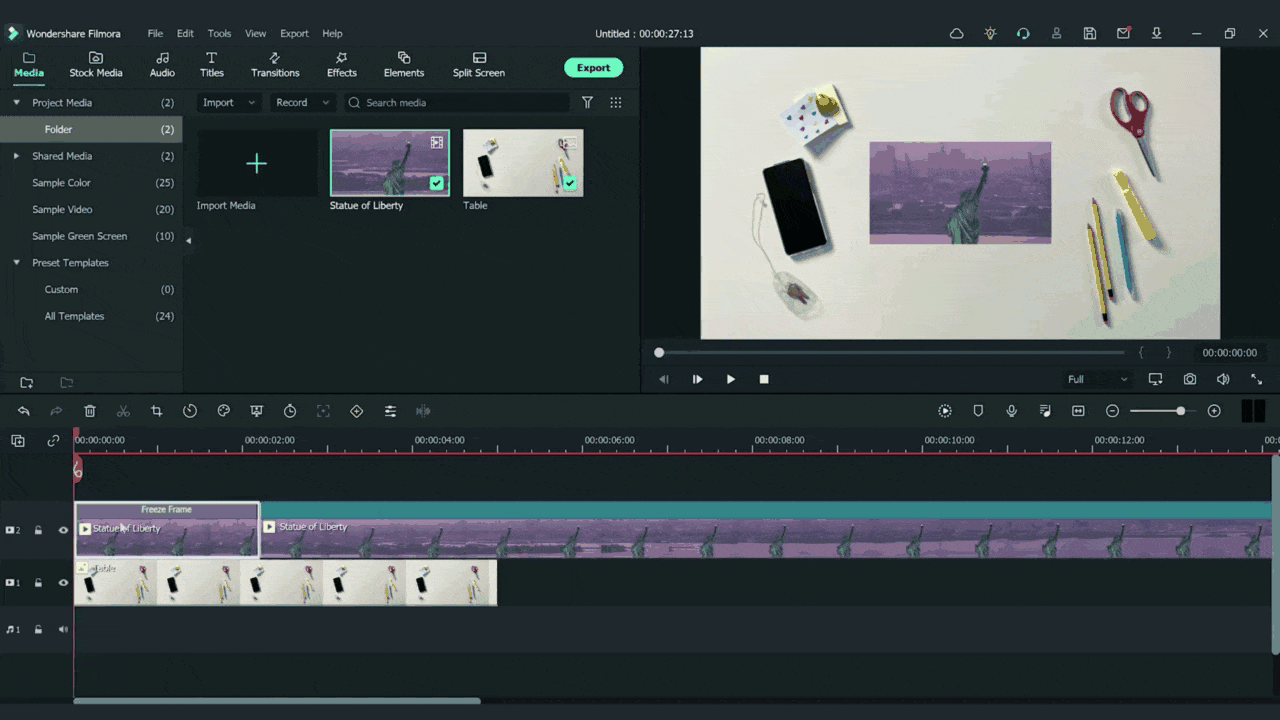
Note: To do a split, drag the playback head to the position where you want to split one or more clips, and click the split button (red scissors icon) on the playback head to create a split.
Cut between the frozen screen and the rest of the clip.
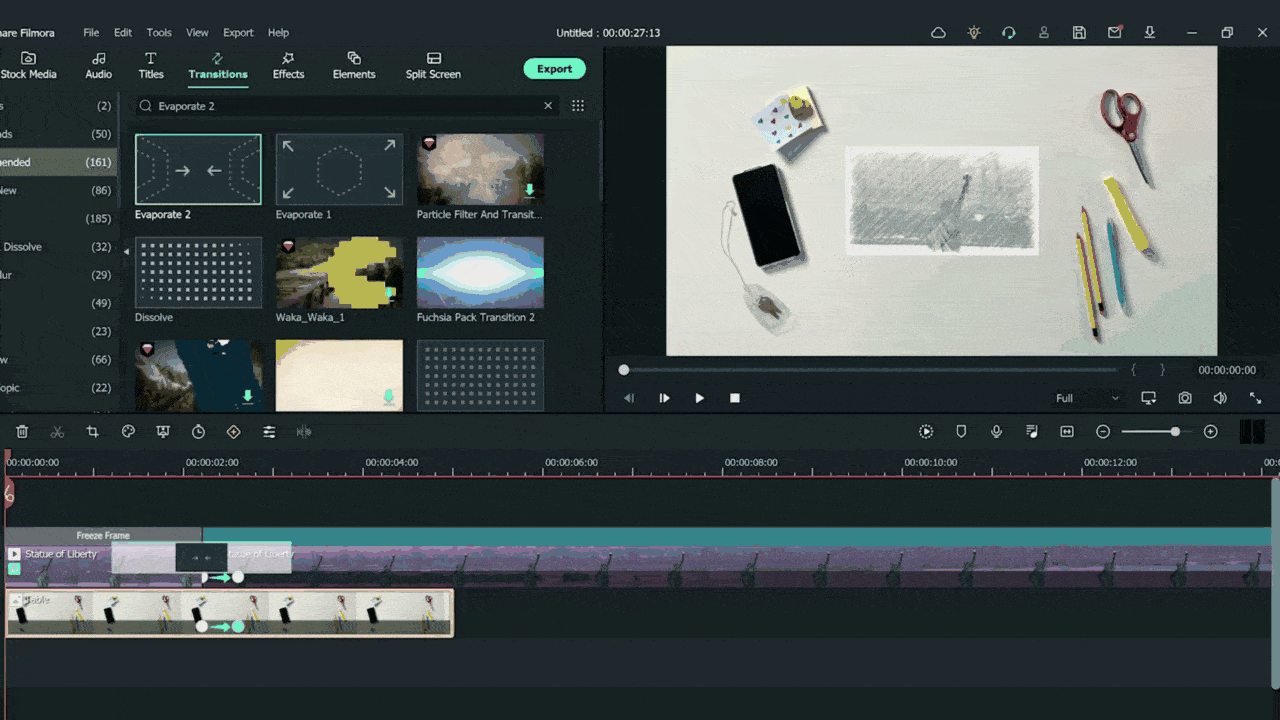
Go to the Effects tab and find the "charcoal" effect. Drag and drop it onto the freeze frame and you should see the draw effect on your preview pane.
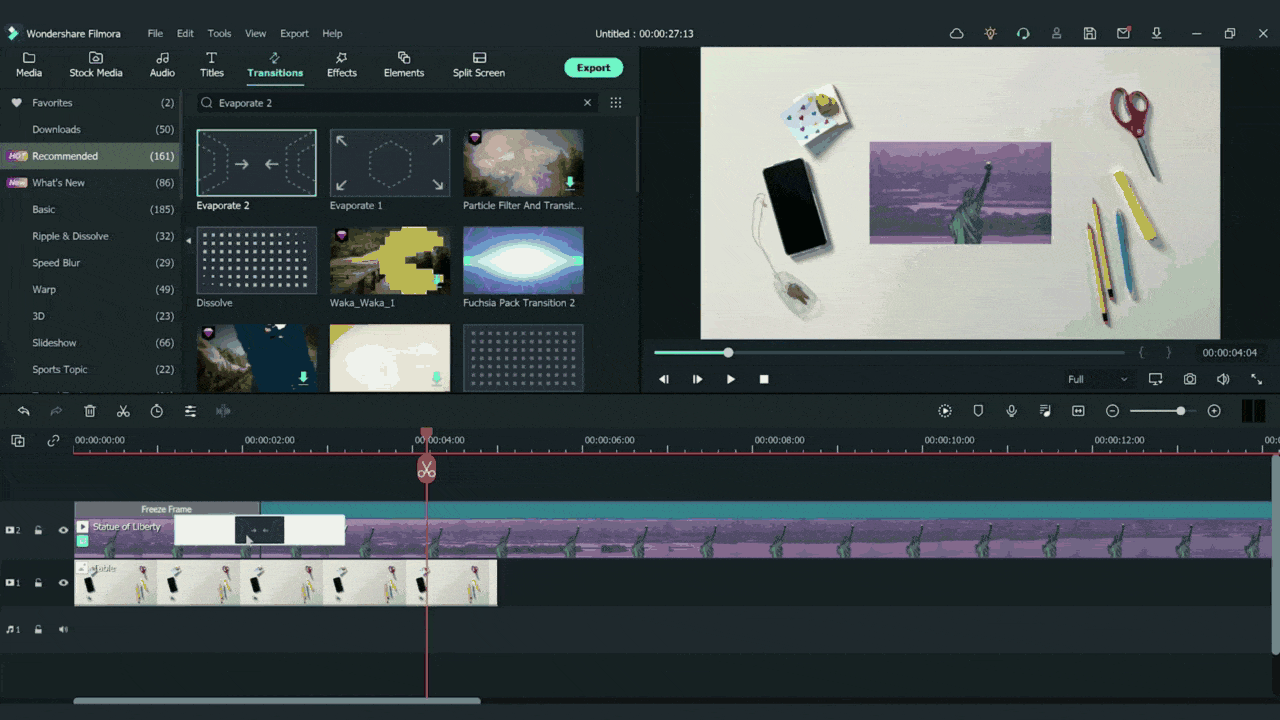
Go to the Transitions tab and find "evaporate 2". Drag and drop it at the spot between the freeze frame and the rest of the clip.

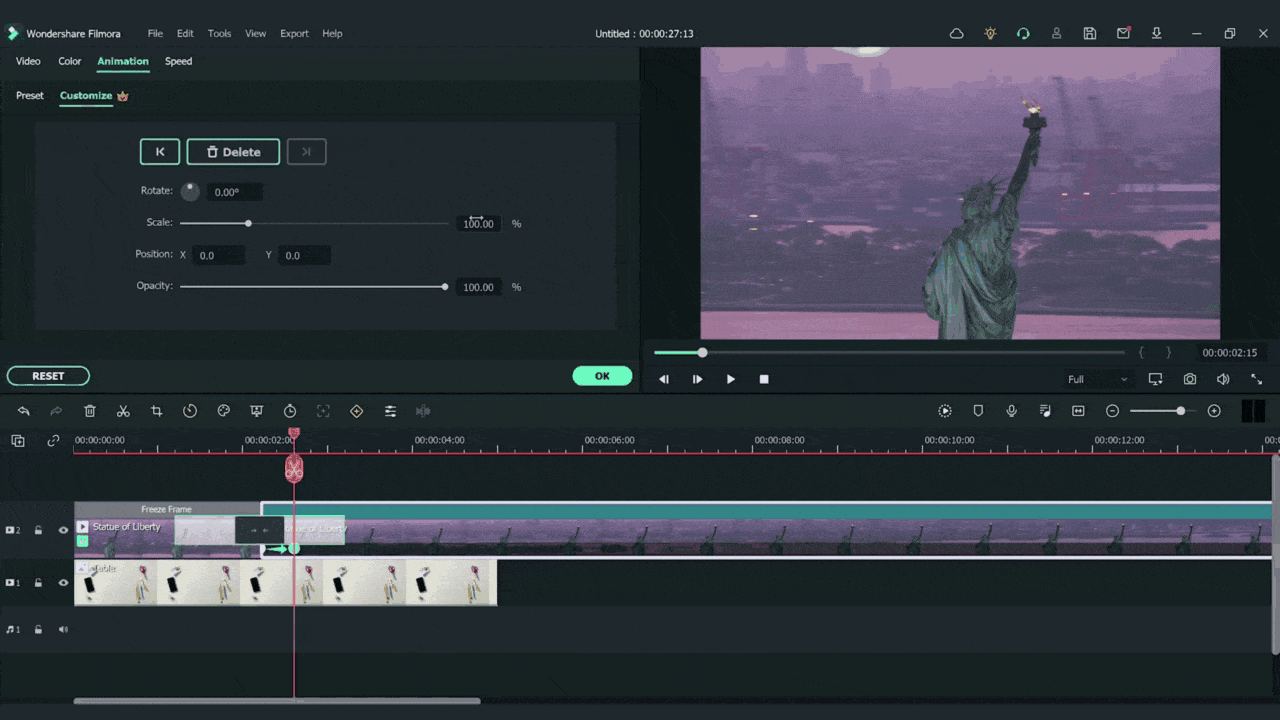
Finally, we want to zoom in on the view after the transition. Move the play head into the beginning of your clip i.e the end of the freeze-frame. Double click on the clip and go to the animation tab and choose to customize.
Add a keyframe by clicking the add button and move the play head to the right just like one inch. Add another keyframe here by clicking 'add'. Change the scale from 35 to 100.
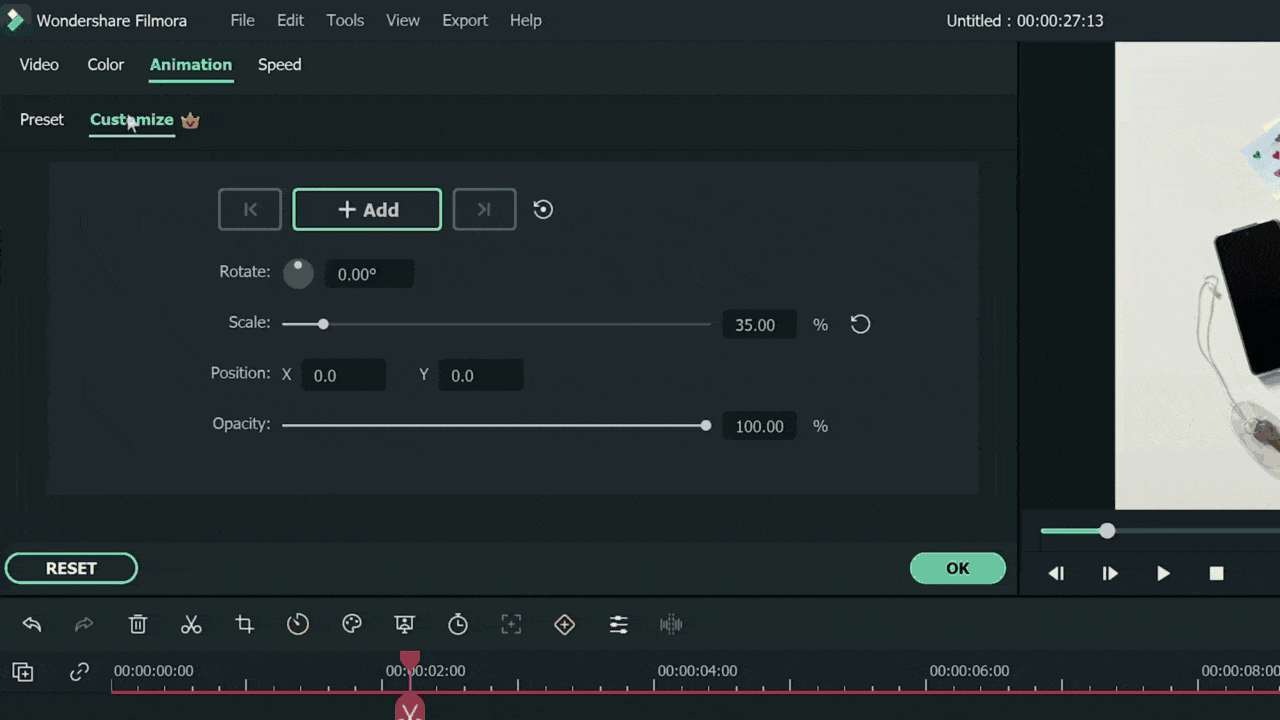
Move the play head to the first keyframe and select the top-down photo in the first track. From animation >> customize, add a keyframe here and keep all the settings numbers untouched.
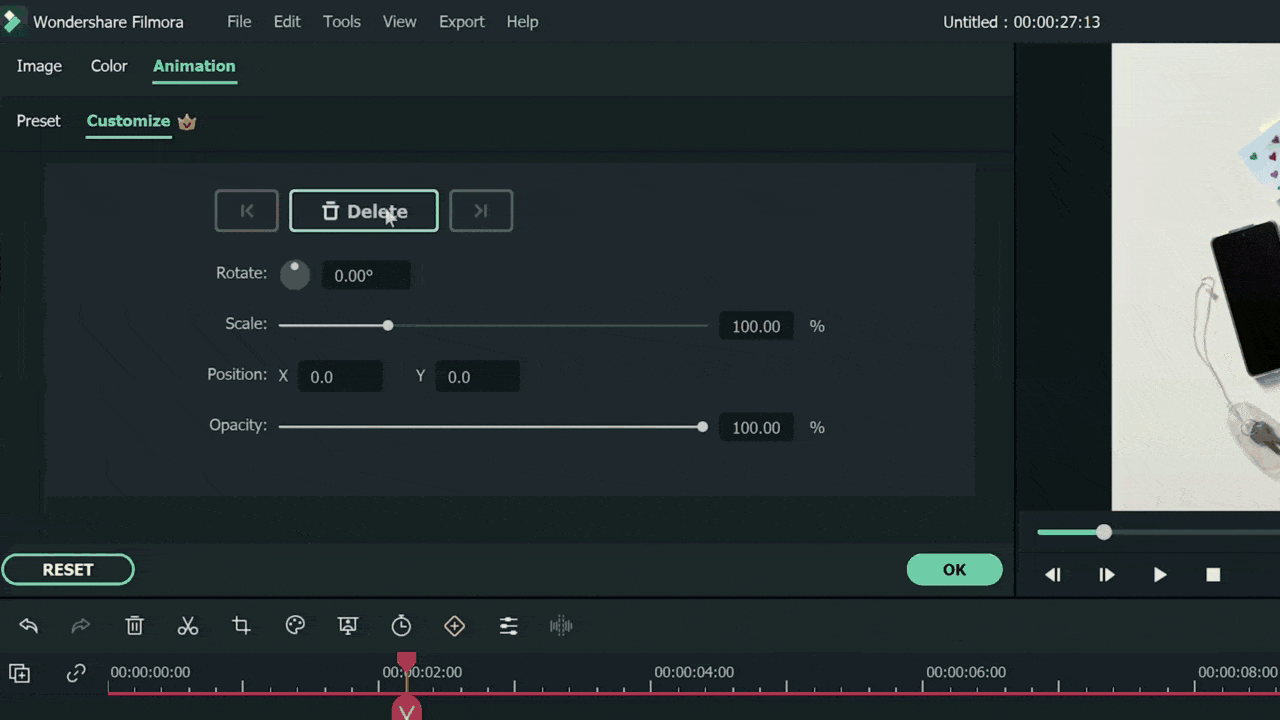
Move the play head to the second keyframe, click on the top-down photo and add another keyframe here. Change the scale to 400%.
And YaY! To see it has been done! You have created a beautiful vlog transition with Filmora 11.
What you've learned:
- How to create a transition for your vlog
- Now make the amazing vlog transition with Filmora.


Speak Your Mind